12 Garden Tasks to Complete in April

12 Garden Tasks to Complete in April

12 Garden Tasks to Tackle in April

Depending on the year, April can either be the first view that we have of spring, or it can already be in full swing and be quite dry. Here in the Okanagan, we need to be prepared for both scenarios. While some of the items on this list could have been completed in March, they will definitely be able to be completed in April. 

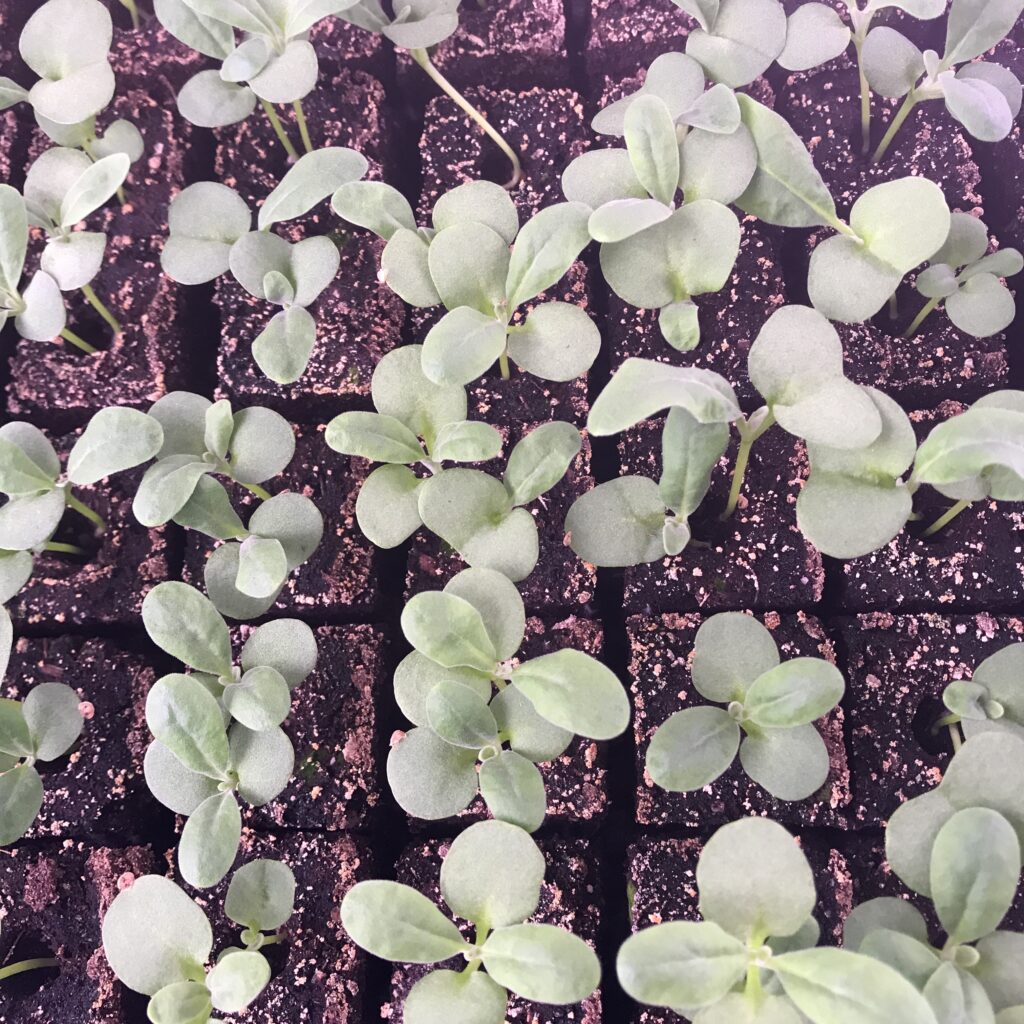
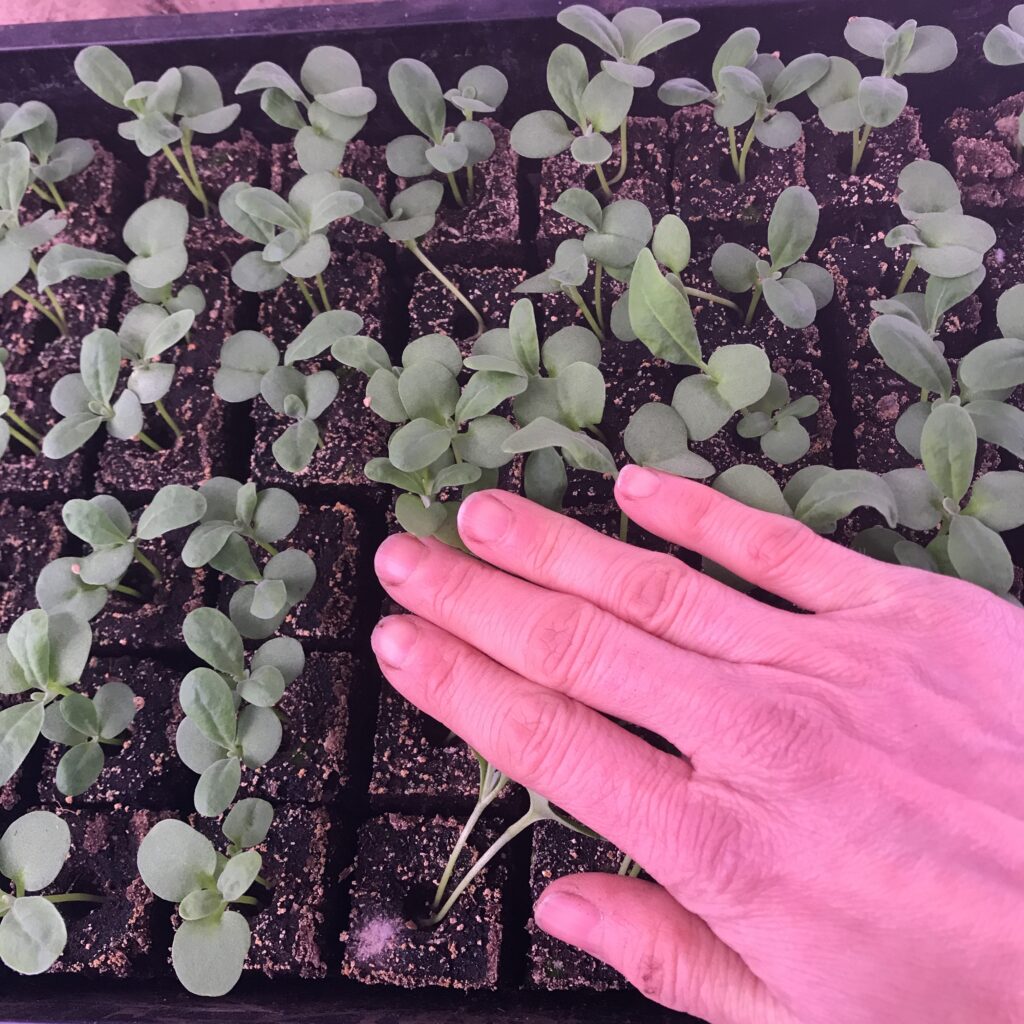
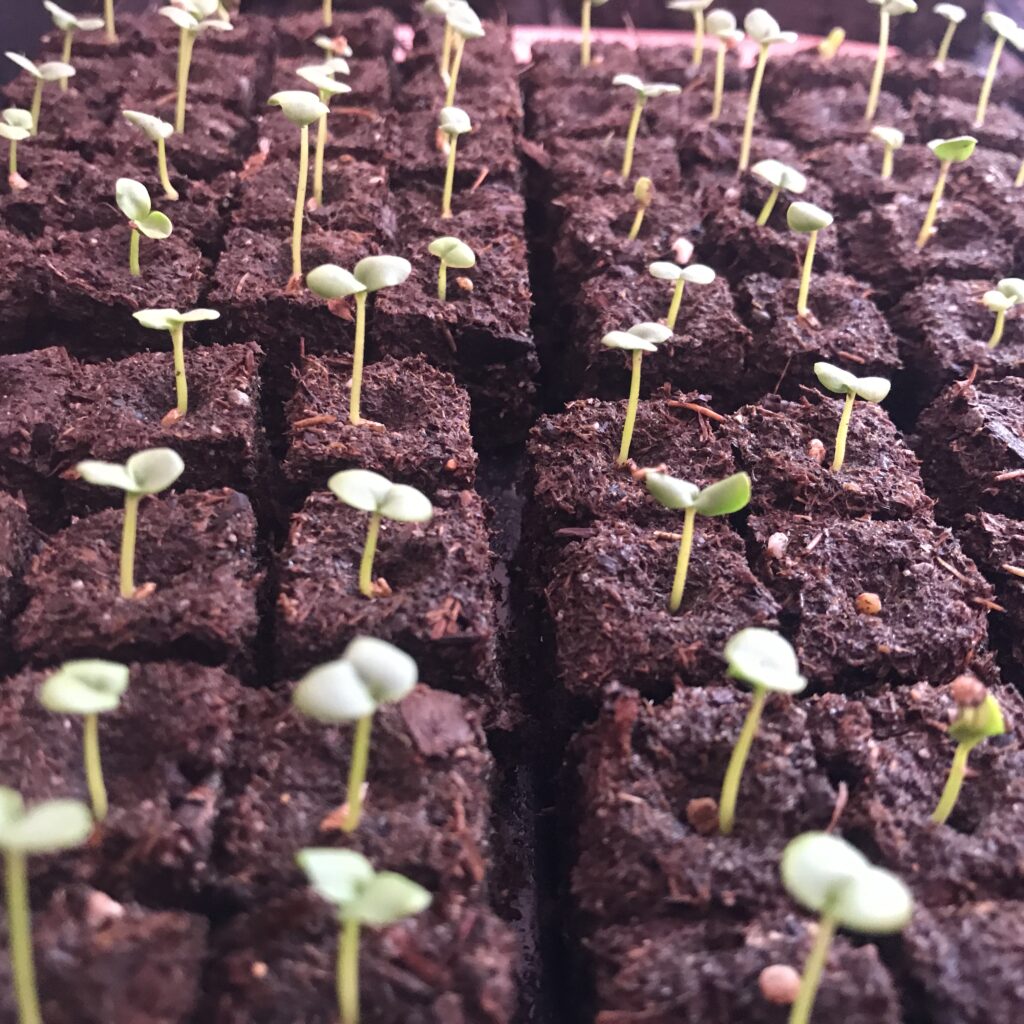
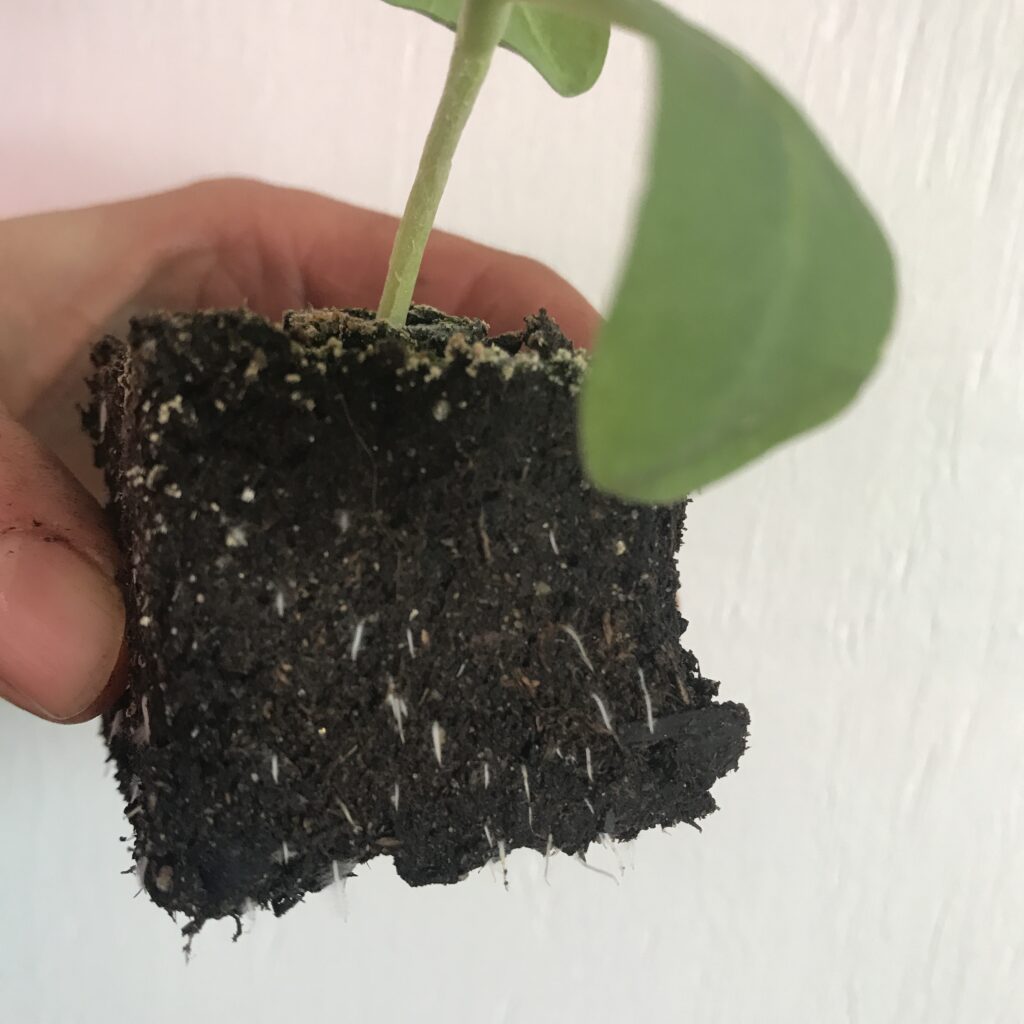
1.  Once the garden soil dries a bit, you can transplant out the cool weather seedlings that you started in February and March. Vegetable seedlings like broccoli, cabbage, brussel sprouts, kale, onions, and leek are all able to be planted out as soon as the soil is workable. Flower seedlings that are good candidates for an early start are snapdragons, sweet peas, and stock. 

2.  Direct sow peas, radishes, and leafy greens. Stagger your harvest by transplanting cool season greens and direct sowing. 

3.  Divide any flowering perennials that haven’t been divided in 3-5 years to maintain their vitality. Daylilies, Hostas, Delphiniums, and Irises will all bloom with renewed vigour if regularly divided. 

4.  Plant any new perennials of asparagus, rhubarb, strawberries, berry bushes, and flowering perennials.

5.  April is also a great month to get those seed potatoes in the ground. Just ensure that the soil has dried out a little so that they won’t rot prior to sprouting. 

6.  Apply mulch around perennials, trees, and shrubs now, before the hot weather arrives, to maintain moisture in the soil. 

7.  Heavy snow and ice can cause branches on trees and shrubs to break over the winter. Prune out any damaged, broken, or dead wood. 

8.  It’s the last chance to plant any bare root trees and shrubs that you may have ordered. Ensure that they get planted while they are still dormant.

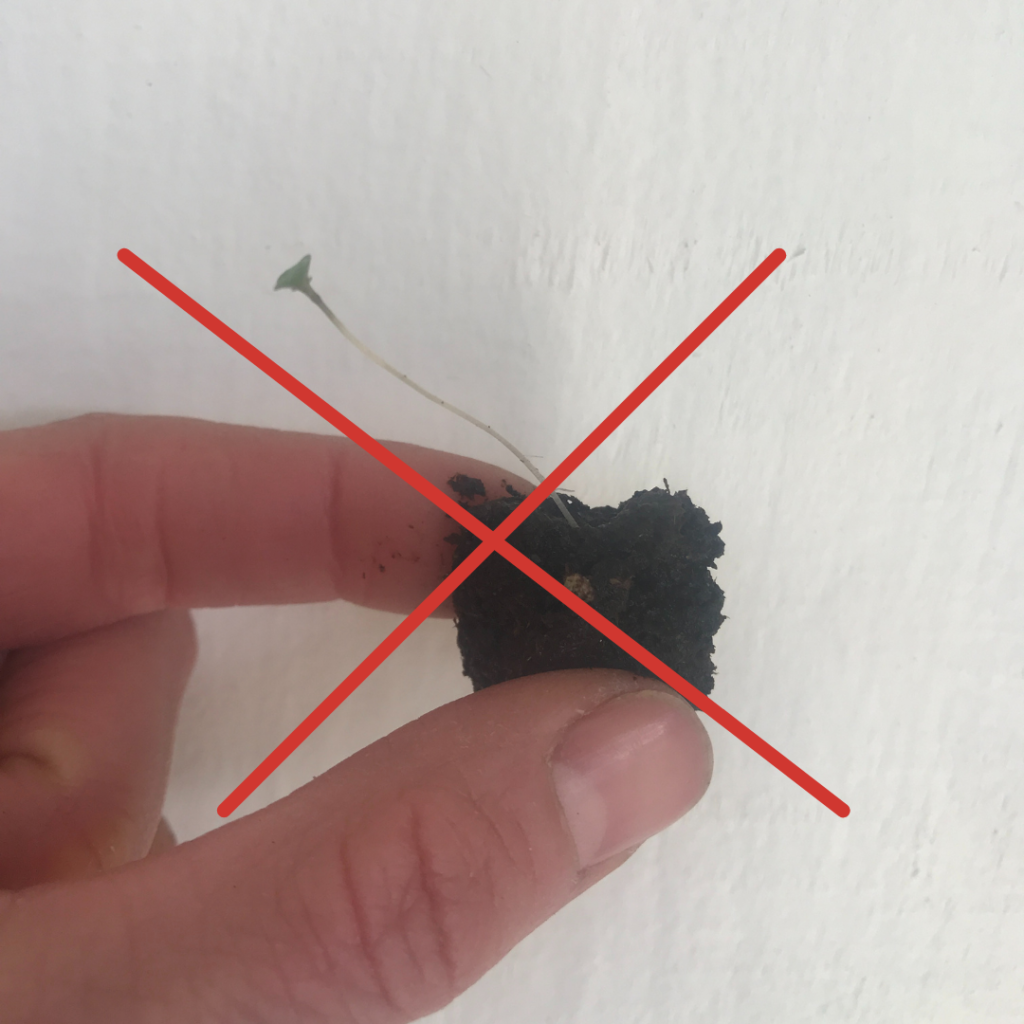
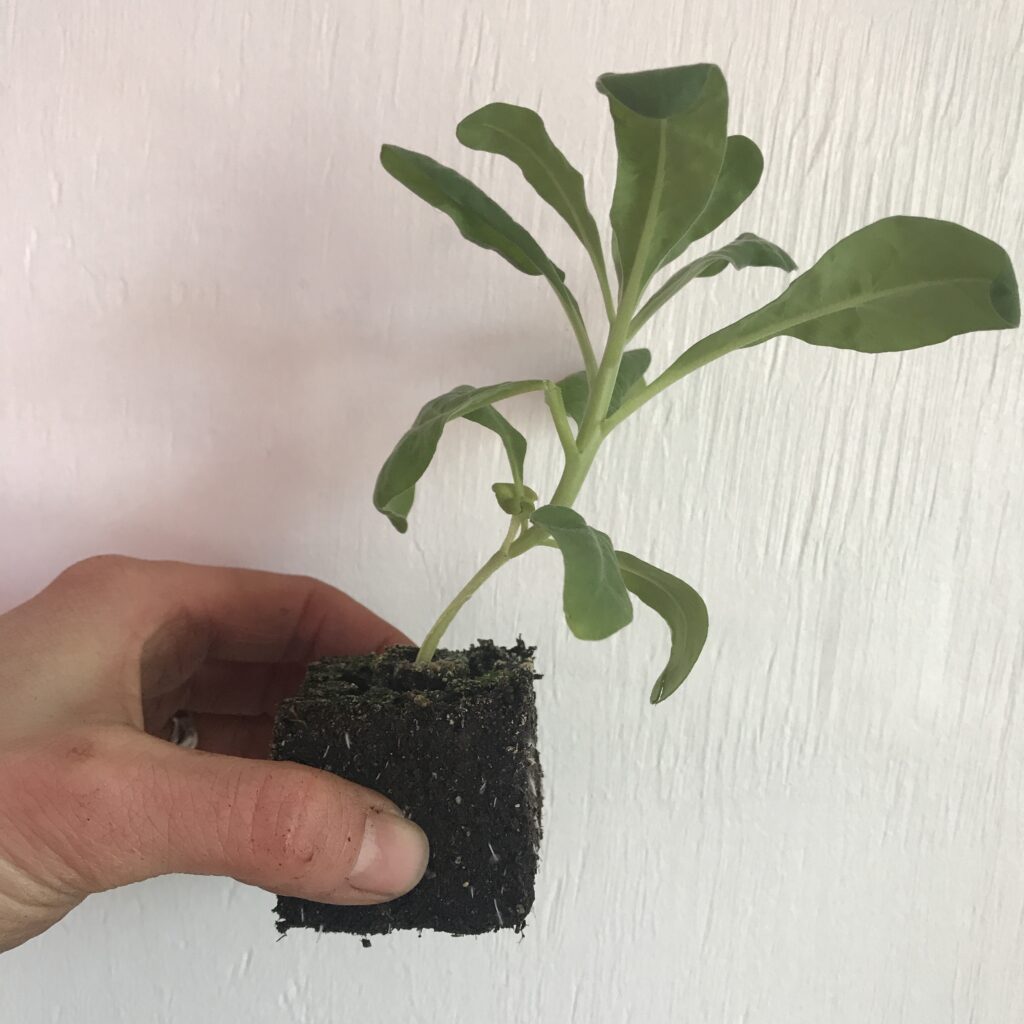
9.  Keep your new transplants well-watered. April can be deceptively dry and those transplants don’t have root systems that can handle any drought yet. 

10.  If you are wanting to have more flowers blooming from snow melt right through to peonies, take some time to walk through garden centres, city parks, and neighbourhoods to see what is currently blooming and take notes/pictures of what you want to plant in the future. 

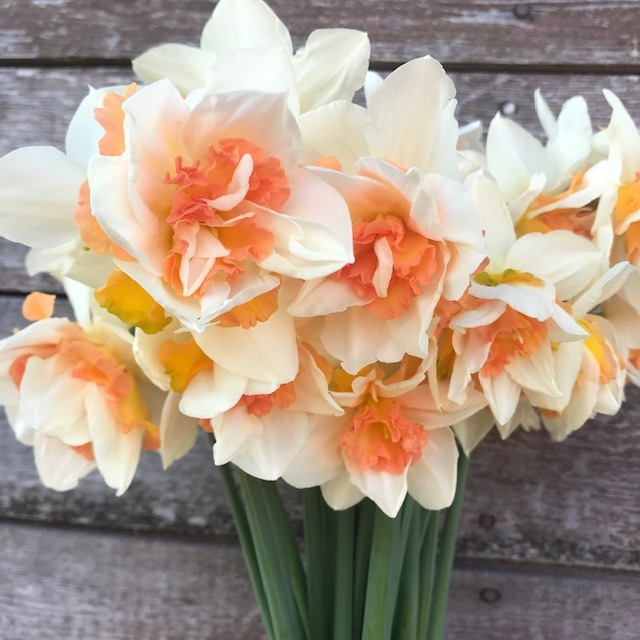
11.  Deadhead daffodils, tulips, and hyacinths once the blooms fade but leave all of the foliage to die back naturally. Doing so ensures that the plant isn’t putting energy towards making seed and allows the leaves to gather as much energy as possible for next year’s bloom. 

12.  Hopefully you left the dead foliage on your perennials over the winter to protect both the plants and the beneficial bugs that shelter within the dead material. If you did, now is the time to  finally cut that dead foliage down. Consider using the chop-and-drop method to create easy mulch or move the material to the compost pile. 

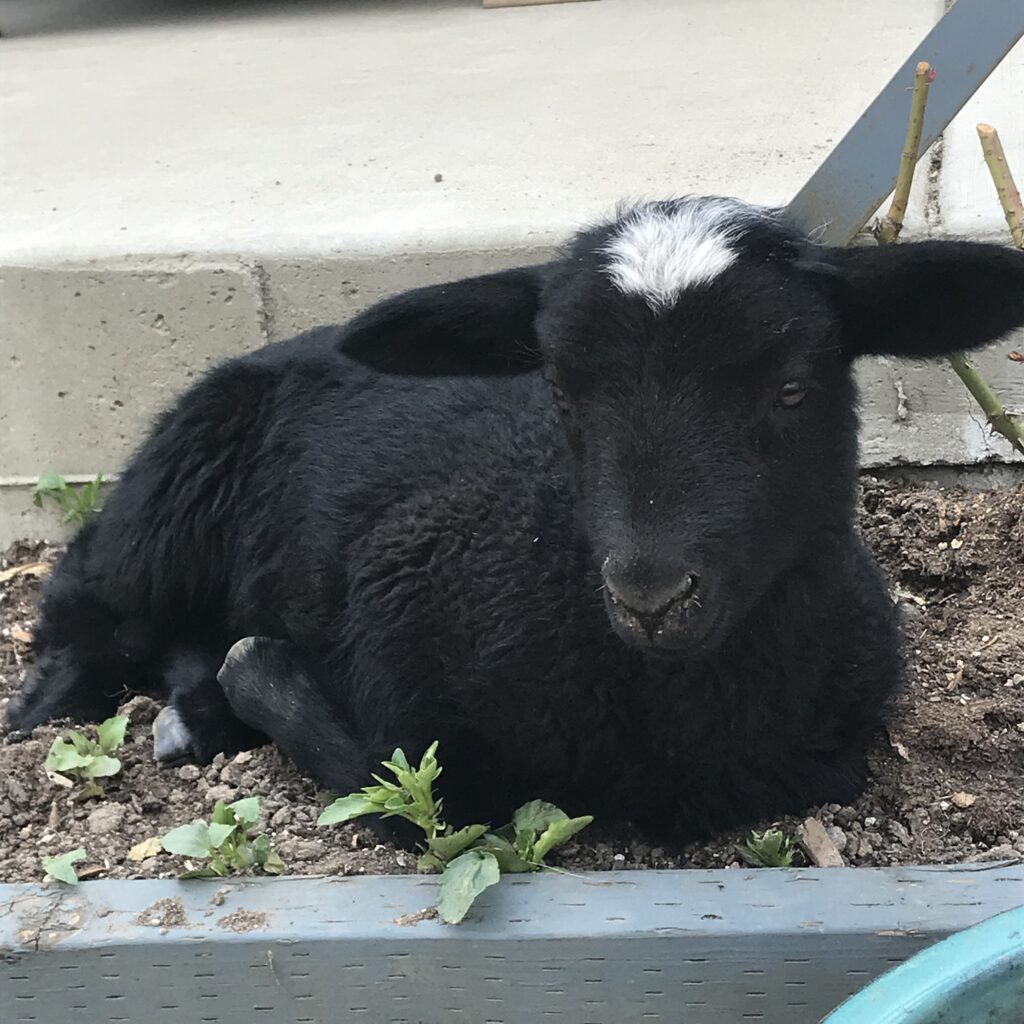
May all your transplants thrive, and may your spring flowers not be eaten by your spring lambs.

Nadine

Have you pet your seedlings today?

Have you pet your seedlings today?

Pet your seedlings

aka Why movement is good for seedlings.

Have you pet your seedlings todays?

Before you unsubscribe, hear me out. At this time of year, you probably have some seeds started indoors and some of the seedlings are starting to look like tiny little plants. While our instinct with anything small and tiny is to protect and coddle, it’s important for our seedlings to get a little tough love from us. 

When seeds germinate outside, they have to deal with the wind blowing on them. As the wind blows, the seedings get a little workout. Over time, their stems strengthen so that they can withstand the wind without blowing over. 

When we start seeds indoors, the seedlings have much weaker stems because they have not been subjected to the natural movement of the wind. If we don’t strengthen these seedlings before transplanting they will likely fall over at the first wind or rain storm and may not have the strength to recuperate. 

One solution is to set up a small oscillating fan near your seedlings. You don’t want the air to be too vigorous so set it up a couple of feet away from your seedlings and keep it on low. We want to stimulate a light breeze not a hurricane. 

For an even lower tech solution, you can simply run your hand across the top of the seedlings each day when you check their water needs. Lightly pet the tops of the seedlings a couple of times to create a little movement in the stems. I prefer this solution because it gives me a chance to inspect the plants at the same time and connects me to them. I am much quicker to notice when a leaf begins to yellow or there is a sign of wilt when I am being this intimate with the seedlings. 

So give your seedlings a little pet. It will make them stronger for the world outside and will give you a chance to do a little bonding with them. 

Everyone already thinks you’re a crazy plant person. Own it. 

Nadine

Seed Germination Test

Seed Germination Test

Seed Germination Test

With the recent sunshine and warmer weather, your mind might be turning to starting seedlings. While flipping through stacks of seed catalogues is admittedly one of my favourite ways to spend an evening, what about all of the seeds I have already accumulated from years past? Can those still be planted or should I throw those out and buy new?

While the idea of using existing seeds is enticing, it’s important to ensure that the seeds are still viable before planting. Nothing is more disappointing than to have just a few stragglers pop up in your carefully tended row after putting in the work of seeding and watering. 

Enter: Seed germination percentages. 

Seed germination percentages are the percentage of seeds that are likely to germinate given correct growing conditions. 

Correct growing conditions can be found on the seed packet or seed company website. 

Sometimes seed companies will state the germination percentage on the seed packet. A seed packet that indicates a 95% germination percentage means that 95 out of 100 seeds will germinate given correct growing conditions. This is good information to know, so that you can plant extra seeds accordingly to end up with the final number of plants that you need in your garden. 

It’s important to note however that the germination percentage listed on a seed packet is only accurate for the year that the seeds were packaged (also usually listed on the package). Every year that passes, the germination rate will drop. So we need a method of testing germination percentages at home for both older packages of seed and open-pollinated seeds that have been saved from your garden.

Luckily, seed germination tests are easy and inexpensive to do at home and they produce accurate results. 

To perform a germination test, fold a paper towel in half twice so that it creates four layers. Wet the paper towel and wring out any excess water. You want the towel damp but not dripping wet. Remove some seeds from the seed package and place the seeds on the paper towel. This is a test of percentages, so the larger your test batch of seeds, the more accurate your results will be. Slide the damp paper towel and seeds into a plastic bag and seal. Place this bag in a warm location where you can check on it every day. The length of time to germinate will depend on the species you are testing, so refer back to the seed packet for an indication of how long it should take. Once the seeds have germinated you can count the duds and do a little math to figure out the germination percentage. 

Delphinium 'Magic Fountain' seeds collected from our fields in 2020
After 10 days. Pulled from the plastic bag.
I moved all the sprouted seeds to the left for easier counting.

On my test of the Delphinium ‘Magic Fountain’ seeds that were collected from our fields in 2020, only 30 seeds sprouted from the 56 that I tested. This is a 54% germination.

If a test indicates a low percentage, I would recommend replacing these seeds unless they are an extremely rare variety. Which leads back to that stack of seed catalogues calling my name…

If you’re looking for me, I’ll be curled up on the couch with a mug of tea, surrounded by dog-eared seed catalogues. 

Nadine

March to-do list

March to-do list

It’s March!

Here are the 9 things that you should do now to get your garden started off right.

1. If you want to enjoy delicious garden tomatoes in the summer, now is the time to get the seeds started. Tomato seedings should be started 6-8 weeks before your last frost date. Around here, that means now is the time to get those seeds started. Remember that these seeds will want a warm, cozy temperature to get started in and will require LOTS of light once they have germinated to avoid leggy plants. A leggy seedling will never turn into a strong plant so give your seedlings the best start to life.

This seedling will never become a strong plant
This seedling has a good start

2. Add a top dressing of compost or aged manure to all garden and vegetable beds.

3. If you tested your soil last fall, now is the time to add the necessary amendments based on the results. Your soil test results will tell you what nutrients are required and the amount of amendments required. (What? You didn’t get a soil test in the fall? Make a reminder to take samples and send them off this September.)

4. Plant any bare root trees and shrubs now. They will still be dormant and will awaken in their new home ready to burst into growth.

5. Plant any berry bushes like raspberries, blueberries, or haskups now.

6. Get an early start on the vegetable garden by planting cool-season crops like peas, carrots, radishes, spinach, broccoli, and onions. These crops can be seeded directly into the garden as soon as the soil is thawed.

7. Now is the time to divide any perennials in your yard that haven’t been divided for 3-5 years. It’s easy to do. Dig up the entire root ball and slice through the roots with a landscape knife or a shovel. Divide each root ball into 2 or 3 pieces and either replant the divisions in another location in your yard or garden or gift the divisions to someone else. One of the original pieces of root ball can be replanted in the original location to grow on. Division of perennials is necessary every 3-5 years to avoid overcrowding. You will be rewarded for your efforts with healthier growth and more flowers. 

8. Now is the perfect time to plant asparagus and rhubarb into your garden. Asparagus roots will take three years to develop into large enough plants to harvest so the sooner you get them into the ground, the sooner you can start enjoying fresh asparagus directly from your garden. 

9. Late winter is the time to prune apple and pear trees but leave your stone fruit trees (plums, apricots, peaches, cherries) alone for now. Pruning of stone fruit trees now can allow open up the tree to disease from silver leaf and cankers. If you aren’t sure how to prune a fruit tree, consult a local arborist, as incorrect pruning can lead to a structurally weak tree and loss of fruit.

Nadine

Soil Blocking

Soil Blocking

It’s time to start thinking about seed starting!

There are many ways to start transplants (often called plugs) and the most familiar comes in the form of a plastic 4-pack or 6-pack of seedlings, or as an entire tray of 50-72 plugs. These ubiquitous plastic forms can be found at every greenhouse and big box store from now until the end of June. They are easy to transport from the store to your house and easy to transport from the house to the garden. But when you go to transplant your new seedlings and you pop them out of their plastic forms, what do you do with the plastic plug containers? Do you throw them in the garbage? Do you recycle them? Do you try to save them for reuse? As we commit to trying to reduce the amount of waste in our lifestyles, these are all questions that should be asked. When I was growing for my own backyard, I would reuse the trays from previous years to start seeds in.

Once I started growing commercially, the plastic plug trays quickly became a bone of contention.

The first issue is storage. I’m growing over 23,000 seedlings this year. Even if I am using a plug tray that allows 72 plants per tray, that’s over 300 plug trays that must be washed, and stored somewhere when they are not in use. That takes up a lot of space!

The plug trays are also far from indestructible. I try very hard to be careful with these trays as the cost to purchase is expensive, but even when you think you are taking it easy on them, they bend the wrong way and break. I have yet to make it to a second season with a plug tray in good condition. This results in extra time and risk of them breaking with plants inside, thus dumping the plants onto the ground/floor in transit or with routine moving.

Lastly, there is the outlying cost for all those trays. $$$

I knew after just a couple of seasons of growing commercially that I needed to find a better, more environmentally responsible way of seed starting.

Enter, the soil block.

A soil block is exactly as the name describes. It is a block of compressed soil that acts as both growing medium and container for the seedling. No plug trays means continuing to reduce the mountain of plastic that has become so ubiquitous with agricultural operations.

Although constructed of only soil mixture, the blocks are not as fragile as you would imagine. And once roots begin to fill the soil block they create a completely stable container that can even handle some roughhousing. 

Soil blocks eliminate the expense and storage of plastic containers and they completely eliminate the plastic waste of broken containers.

But the even better news is that this method actually creates a stronger seedling. How?

Plug trays are pyramidal in shape.

A pyramid has only 1/3 of the volume of soil as a cube with the same top dimension. Thus the roots of a plant in a soil block have three times the amount of soil to grow in versus in the same sized plug tray.

Photo credit:
Math Stack Exchange

This means that the seedlings can stay in the soil block for much longer before needing to be planted in the ground as they have more soil and more nutrients to sustain them. This removes the stress of trying to time transplanting perfectly, especially in early spring when weather can cause unexpected delays.

Another thing that becomes obsolete with soil blocks is root bound seedlings. When the roots of a plant in a plug tray reach the edge of the container, they will begin to encircle the edges of the container. If the seedling is left too long, the roots will circle, and circle, and circle. Resulting in a root bound seedling.

Roots of a seedling in a soil block are “air pruned” at the natural edges of the soil block. The roots of these seedlings will push out towards the edge of the block but once they cross into the air they will die off leaving the portion of root within the soil block “pruned”. 

Anyone that knows anything about pruning trees and shrubs will know that when you prune the growing end off of a branch, many more shoots will appear along the branch producing a bushier plant. The science behind this is fascinating.

(Warning: I’m about to geek out here)

The growing point at the end of a branch, shoot, or root is called the apical meristem. The apical meristem produces a hormone that blocks all of the other growing points (buds) further down the stem from growing, thus allowing this top bud to dominate. When the end is cut off of a branch or root, the source of the hormones is also cut off and other buds along the stem will now have the ability to grow. This is what makes a stem bushy. (Like when you’re told to pinch the top off of your basil plant because it will produce more leaves.)

This exact same process is happening at the edges of a soil block. Once the roots push out of the soil block they will reach the air and will be burnt off. Once the apical meristem of the root is removed, that root will branch out and produce many more roots. This means that by the time you are ready to transplant a seedling in a soil block, the soil block is absolutely full of roots that are just waiting to burst out into the surrounding soil. This creates a much bigger, healthier plant, more quickly. 

The other reason that seedlings in soil blocks are so healthy is the actual mixture that is created for the soil blocks.

Unlike in standard plug trays, where the soil mixture needs to be light and porous, in a soil block, we are actually requiring a soil mixture that can be compacted. This mixture is composed of peat, sand, and compost or soil. The mixture not only provides nutrients to the growing seedling but upon transplanting the soil blocks you are adding organic matter to the growing area. A staggering amount of organic matter actually.

Consider this:

2” cubed blocks set out at a spacing of 12” x 12” is the equivalent of applying 5 tons of compost per acre!

So every soil block that is transplanted into the soil is one less shovelful of compost that you need to add later.

Soil blocks save time. They save money. And they save mountains of plastic. This year alone, I will sow over 23,000 seeds to be transplanted into the flower field. And every one of them is sown into a soil block.

Have I convinced you to give them a try yet?

The purchase of a soil blocker is required to make soil blocks. The soil blocker is an ejection mold that forms cubes out of your growing medium. But this is a one time purchase that will last. I have used my soil blockers to make hundreds of thousands of seedlings and they still work like new.

Soil blockers can be purchased at Lee Valley, West Coast Seeds, Johnny’s Selected Seeds, etc.

Please note: I have no affiliation with any of these suppliers and I don’t receive anything if you purchase through them. 

Except maybe the knowledge that I will have stopped a little more plastic from going into the environment.

Change can start one seedling at a time.

Nadine